Receipts. Always.
Every cut posted is a real client, real day. No filters. No edits.
What you're looking at
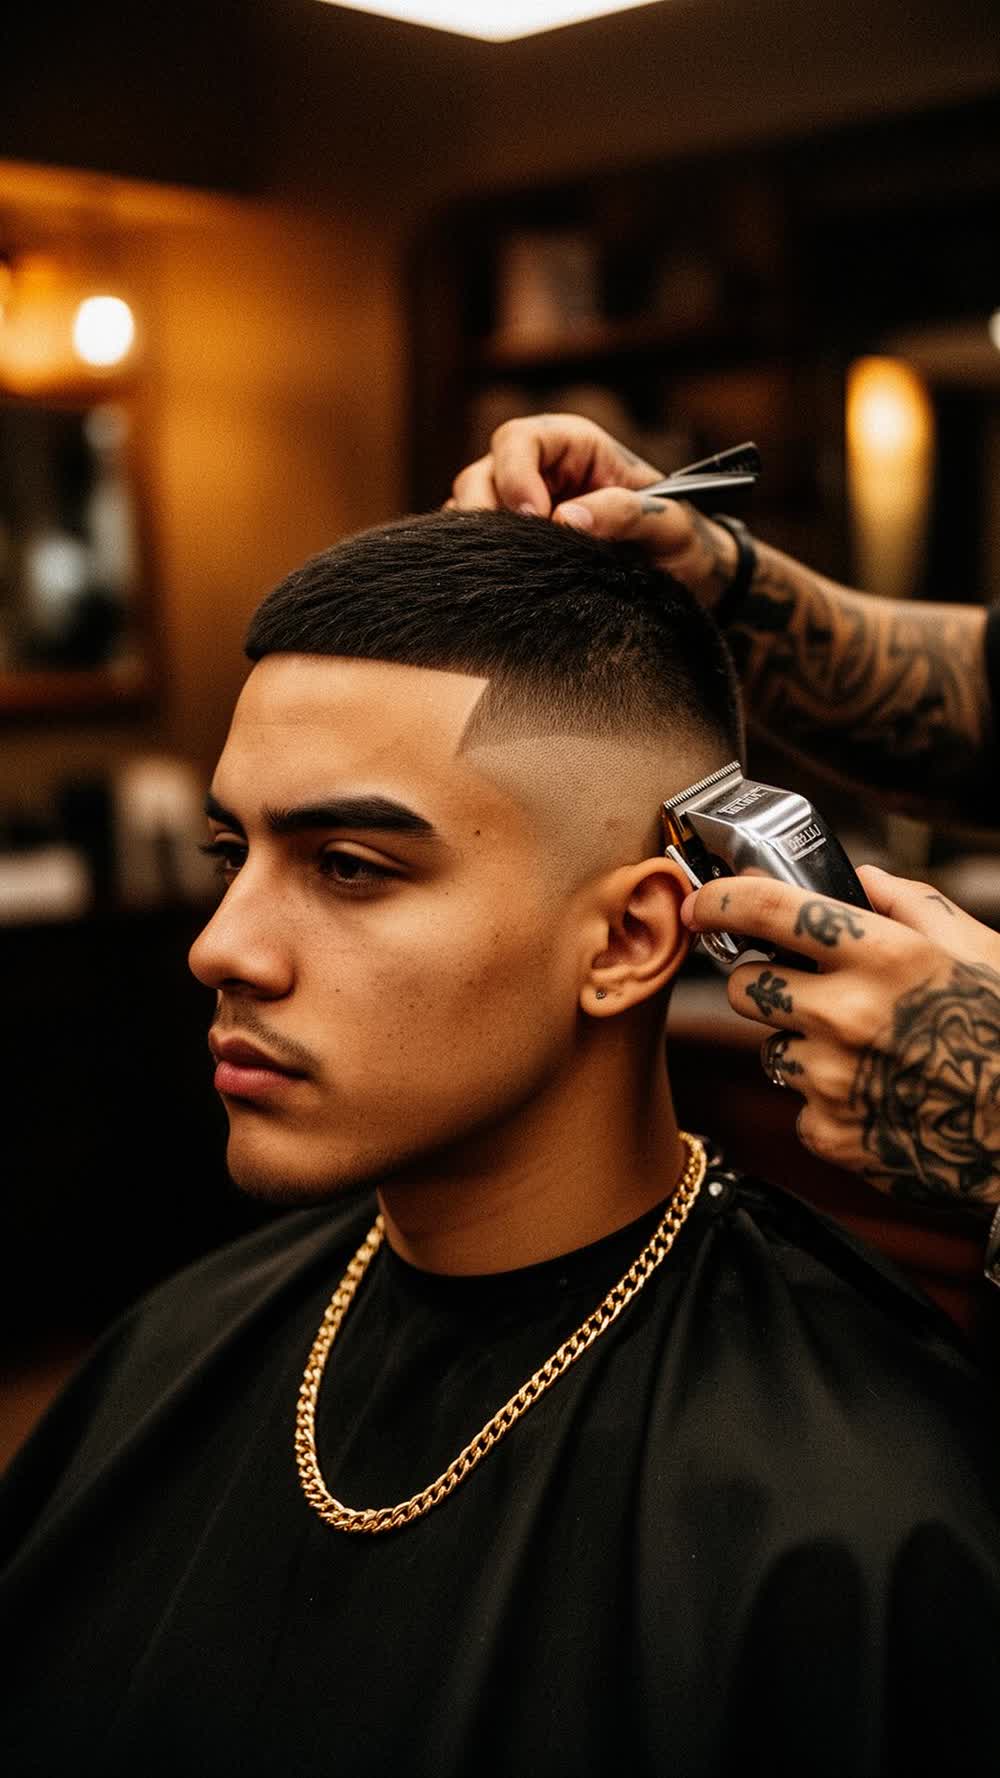
6 pieces, all shot in the shop on working days: a skin fade with a razor lineup, a finished-cut reveal, detail work through the middle of a fade, a beard sculpt, and clipper work close enough to see the guard change. The services behind them are the same ones on our menu — low, mid, high, drop and taper fades, scissor cuts, buzz cuts, beard fades, and hair designs.
None of it is stock footage and none of it was cut for the camera. These were paying clients who let us film, which is also why the lighting is shop lighting and not a studio.
How to read a fade
Two things separate a good fade from a passable one, and both are visible above. The first is the blend. Run your eye from the skin at the bottom up to the length on top and there should be no shelf, no band, no spot where one guard length stops and the next one starts.
The second is the line. A lineup should follow the hairline you already have — sharp, but not carved past where hair actually grows, because anything borrowed grows back crooked. Then check the back of the head. That's where a rushed cut shows first, since it's the one angle the client never sees in the mirror.
Bring a reference photo
Screenshot what you want before you get here, and grab two angles if you can — front and back. A photo settles where the fade line sits and how much weight stays up top in about two seconds, which is faster than any description gets there.
What a photo can't change is your hair. Density, texture and growth pattern decide how a shape lands, and a tight curl won't fall the way a straight-haired reference does. We'll tell you straight which parts translate and which we'd adjust, then cut to that — better than finding out halfway through.